
教材の内容に関係のない質問や教材とは異なる環境・バージョンで進めている場合のエラーなど、教材に関係しない質問は推奨していないため回答できない場合がございます。
その場合、teratailなどの外部サイトを利用して質問することをおすすめします。教材の誤字脱字や追記・改善の要望は「文章の間違いや改善点の指摘」からお願いします。
 カテゴリー
カテゴリー
Tinder風スワイプやマッチング機能、Action Cableを使ったリアルタイムチャット機能などを分かりやすく解説。最新のRails6にも対応!
本パートでは、リアルタイムでメッセージを送るために Action Cable を使った実装をおこないます。
本パートでは、チャットルームページのフォーム内でテキストを入力しEnterを押すと、入力した内容をアラートで表示するところまで実装します。

では進めていきましょう。
Action Cable とは、WebSocketとRailsのその他の部分をシームレスに統合するためのものです。Action Cable が Rails5 から導入されたことで、Rails アプリケーションの効率の良さとスケーラビリティを損なわずに、通常の Rails アプリケーションと同じスタイル・方法でリアルタイム機能をRubyで記述できます。
参考: Action Cable の概要
WebSocket とは、ユーザーのブラウザとサーバー間を常時接続状態にして双方向通信ができる技術です。
参考: WebSocket
それでは、Action Cableの設定をおこなっていきます。
Action Cable では、チャネル(Channel) というものを作成します。チャネルには論理的な処理を記載します。MVCのコントローラーが果たす役割と似ています。
それでは、以下のコマンドを実行して、ChatRoomチャネルを作成しましょう。
console Copied!rails g channel chat_room speak
実行結果は以下になります。
console        Copied!rails g channel chat_room speak
Running via Spring preloader in process 28144
      invoke  test_unit
      create    test/channels/chat_room_channel_test.rb
      create  app/channels/chat_room_channel.rb
   identical  app/javascript/channels/index.js
   identical  app/javascript/channels/consumer.js
      create  app/javascript/channels/chat_room_channel.js
作成された、chat_room_channel.rbとchat_room_channel.jsの中身は以下のようになっています。
app/channels/chat_room_channel.rb123456789101112            Copied!class ChatRoomChannel < ApplicationCable::Channel
  def subscribed
    # stream_from "some_channel"
  end

  def unsubscribed
    # Any cleanup needed when channel is unsubscribed
  end

  def speak
  end
end
app/javascript/channels/chat_room_channel.js12345678910111213141516171819                   Copied!import consumer from "./consumer"

consumer.subscriptions.create("ChatRoomChannel", {
  connected() {
    // Called when the subscription is ready for use on the server
  },

  disconnected() {
    // Called when the subscription has been terminated by the server
  },

  received(data) {
    // Called when there's incoming data on the websocket for this channel
  },

  speak: function() {
    return this.perform('speak');
  }
});
次に、サーバーサイドの処理をするapp/channels/chat_room_channel.rbの実装をします。
app/channels/chat_room_channel.rb を以下のように編集してください。
app/channels/chat_room_channel.rb12345678910111213141516                Copied!class ChatRoomChannel < ApplicationCable::Channel
  def subscribed
    # この行を編集する
    stream_from "chat_room_channel"
  end

  def unsubscribed
    # Any cleanup needed when channel is unsubscribed
  end

  # ==========ここから編集する==========
  def speak(data)
    ActionCable.server.broadcast 'chat_room_channel', chat_message: data['chat_message']
  end
  # ==========ここまで編集する==========
end
rb123   Copied!def subscribed
  stream_from "chat_room_channel"
end
subscribedでどのchannel(今回はchat_room_channel)を購読するか指定します。このコードで、chat_room_channel.rbとchat_room_channel.jsでデータ送受信できます。
rb123   Copied!def speak(data)
  ActionCable.server.broadcast 'chat_room_channel', chat_message: data['chat_message']
end
上記のコードで、chat_room_channel.jsで実行されたspeakアクションのchat_messageを受け取り、chat_room_channel.jsのreceivedメソッドにdataを送信します。
次に、クライアントサイドの処理をするapp/javascripts/channels/room_channel.jsを実装します。
最初は、フォームに文字を入力してエンターを押したら、アラートを表示するところまで実装します。
app/javascripts/channels/room_channel.js1234567891011121314151617181920212223242526272829303132333435                                   Copied!import consumer from "./consumer"

// この行を編集する
const appChatRoom = consumer.subscriptions.create("ChatRoomChannel", {
  connected() {
    // Called when the subscription is ready for use on the server
  },

  disconnected() {
    // Called when the subscription has been terminated by the server
  },

  received(data) {
    // この行を編集する
    return alert(data['chat_message']);
  },

  // ==========ここから編集する==========
  speak: function(chat_message) {
    return this.perform('speak', { chat_message: chat_message });
  }
  // ==========ここまで編集する==========
});

// ==========ここから追加する==========
if(/chat_rooms/.test(location.pathname)) {
  $(document).on("keydown", ".chat-room__message-form_textarea", function(e) {
    if (e.key === "Enter") {
      appChatRoom.speak(e.target.value);
      e.target.value = '';
      e.preventDefault();
    }
  })
}
// ==========ここまで追加する==========
js1 Copied!if(/chat_rooms/.test(location.pathname)) {
上記のコードでチャットルームページかどうかを確かめています。チャットルームページだけで上記の処理をしたいためです。
location.pathname で現在のページURLのパスを参照します。http://localhost:3000/chat_rooms/1 にアクセスしたら、/chat_rooms/1を取得します。
.test()メソッドは、正規表現で指定された文字列の一致を調べるための検索を実行します。正であればtrueを返します。
参考: MDN web docs - RegExp.prototype.test()
js12  Copied!$(document).on("keydown", ".chat-room__message-form_textarea", function(e) {
  if (e.key === "Enter") {
上記のコードで、フォーム内でEnterキーを押したときに処理を実行します。
js1 Copied!appChatRoom.speak(e.target.value);
上記のコードで、speakアクションを発火させています。
js123   Copied!speak: function(chat_message) {
  return this.perform('speak', { chat_message: chat_message });
}
上記のコードで、chat_room_channel.rbのspeakアクションにchat_messageを送っています。
js123   Copied!received(data) {
  return alert(data['chat_message']);
},
上記のコードで、chat_room_channel.rbから送られてきたdataを受け取り、アラートを表示します。
それでは、動作確認をしてみましょう。
チャットルームページにアクセスして、フォームにテキストを入力し、Enterキーを押してください。
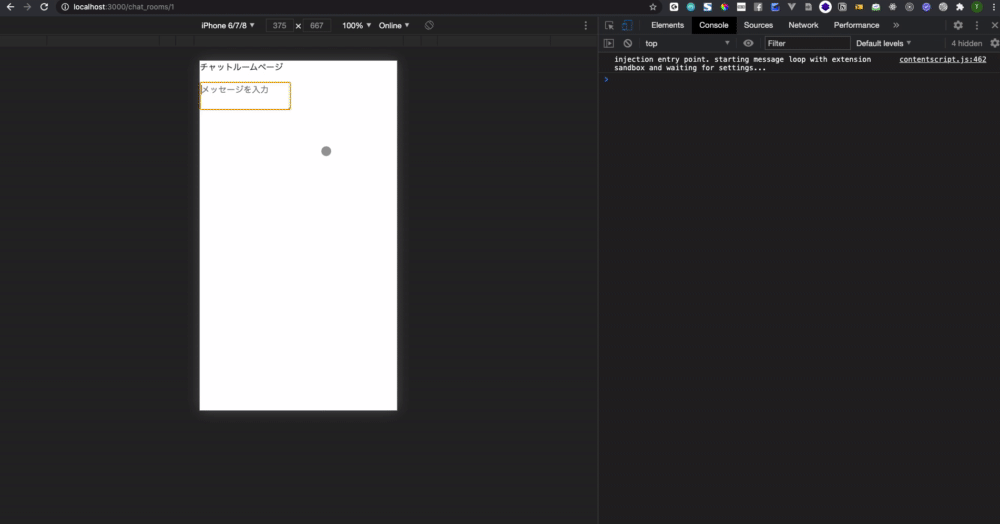
上記の動画のように入力したテキストがアラートに表示されればうまく動作しています。
ここまでのアラート表示までの流れは以下になります。
data を送る以上で本パートは終了です。
次のパートでも引き続き Action Cable の実装を進めていきます。
お疲れさまでした。

